Mounting a S3 bucket to your AWS Instance

EBS storage, compared to S3 object storage is expensive. About 3.5x expensive as of this writing as AWS charges approximately $0.08 / GB for EBS storage compared to approximately $0.023 / GB of space.
One other advantage of mounting your S3 bucket to your AWS instance is that it can act like a network drive without needing to have duplicated across multiple instances.
In order to accomplish this, we'll go through a short tutorial on using s3fs to mount a s3 bucket to your AWS instance.
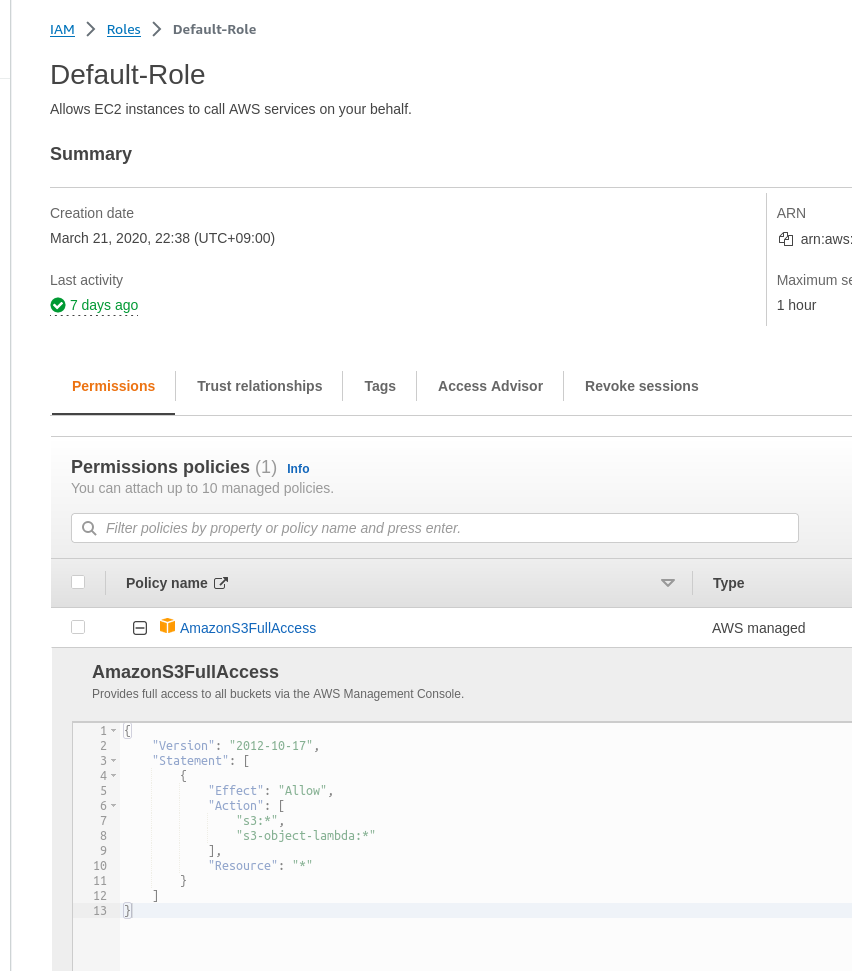
First off, you'll need a service IAM role that permits a machine to read, write and list data from your s3 buckets. A good starting point is to start off with the Default-Role provided by AWS.
You'll find this role in the IAM page inside of the AWS console.
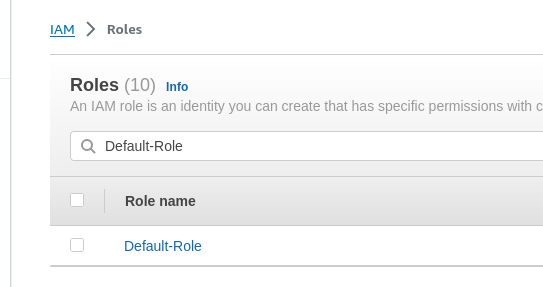
The Default-Role will grant access to all S3 resources in your account.
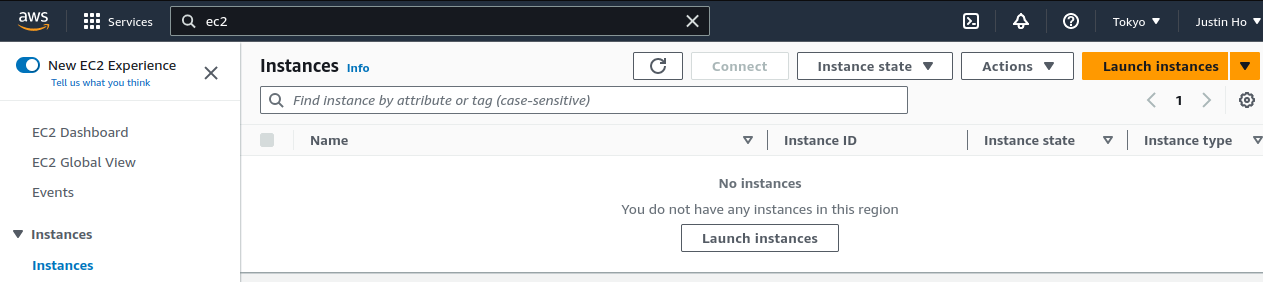
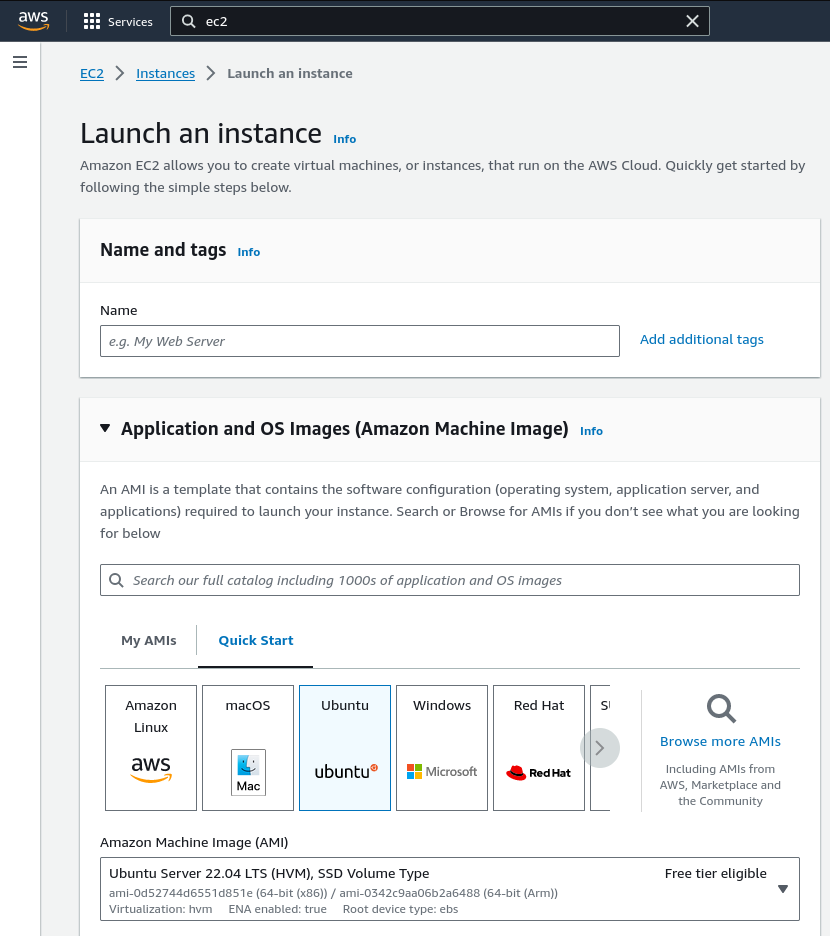
From the EC2 panel, click on Instances and click the Launch Instances button to launch a virutal machine.
For the purposes of this demo we'll use an Ubuntu 22.04 server image.
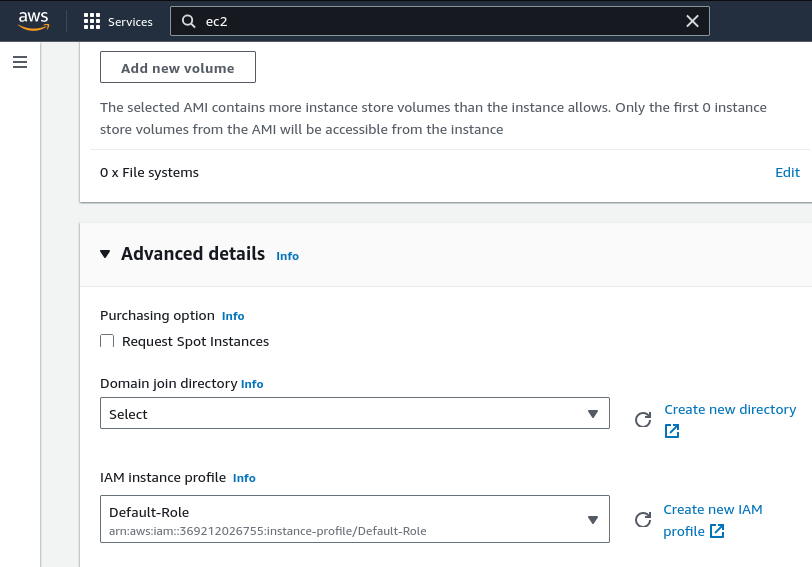
From here, ensure that you have the Default-Role under Advanced Details selected.
Once the machine is launched, we'll next need to install the package to mount the s3 bucket to the machine. This can be done with the following command:
sudo apt-get update
sudo apt-get install s3fs
Ensuring that the s3 drive is mounted whenever the machine is restarted, we can update /etc/fstab which is used by the machine to automatically manage the mount point.
For this example, I'll create a mount point at /data/s3/spherex-oregon-bucket for the purposes of this demo – this means that a directory should be available at this location. In this case, I'll create one with the following command:
sudo mkdir -p /data/s3/spherex-oregon-bucketNext the /etc/fstab file will be updated to mount this location when the machine starts:
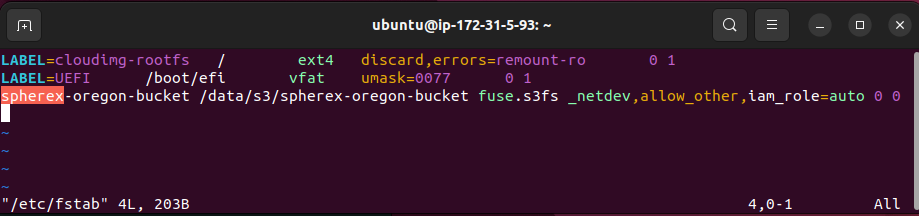
Once the /etc/fstab file has been updated, the bucket can be mounted with the following command:
sudo mount -aYou'll then be able to verify that the bucket has been mounted using the df command which gives information about the mounted file systems (the -h flag is to make the units in bytes, kilobytes, megabytes, etc):
df -hAnd we'll see below that the bucket has been mounted by the result of the command:
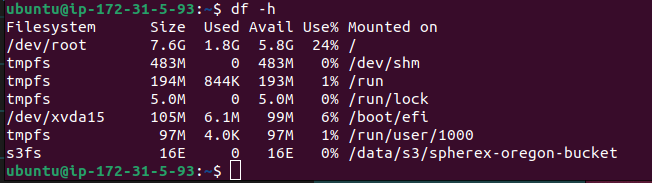
Now after navigating to the directory, we'll see that the following commands, first list no files, then creates a sample test file.

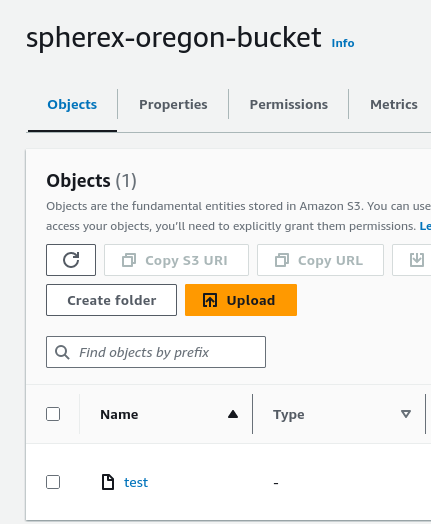
Finally in the AWS console in side of the S3 browser for this bucket, we'll see the file created:
This becomes useful for machines that want a file system like way of accessing files on s3 without needing additional EBS storage on the machine.
Some Caveats
There are some limitations to using a S3 mounted file system however. S3 does not natively support editing files or appending files in place. This means that objects written to S3 are written in a one shot manner. Meaning that there are performance hinderance to editing or appending data to large files on S3.
When using files mounted via s3fs, it is best to do one shot reading and writing of files and perform modifiations elsewhere. Otherwise this is a great way of sharing files across multipe machines.


